Showing posts with label free pattern. Show all posts

16 November 2015

FREE PATTERN: Giant hama bead lollipop (perfect for a Katy Perry costume!)


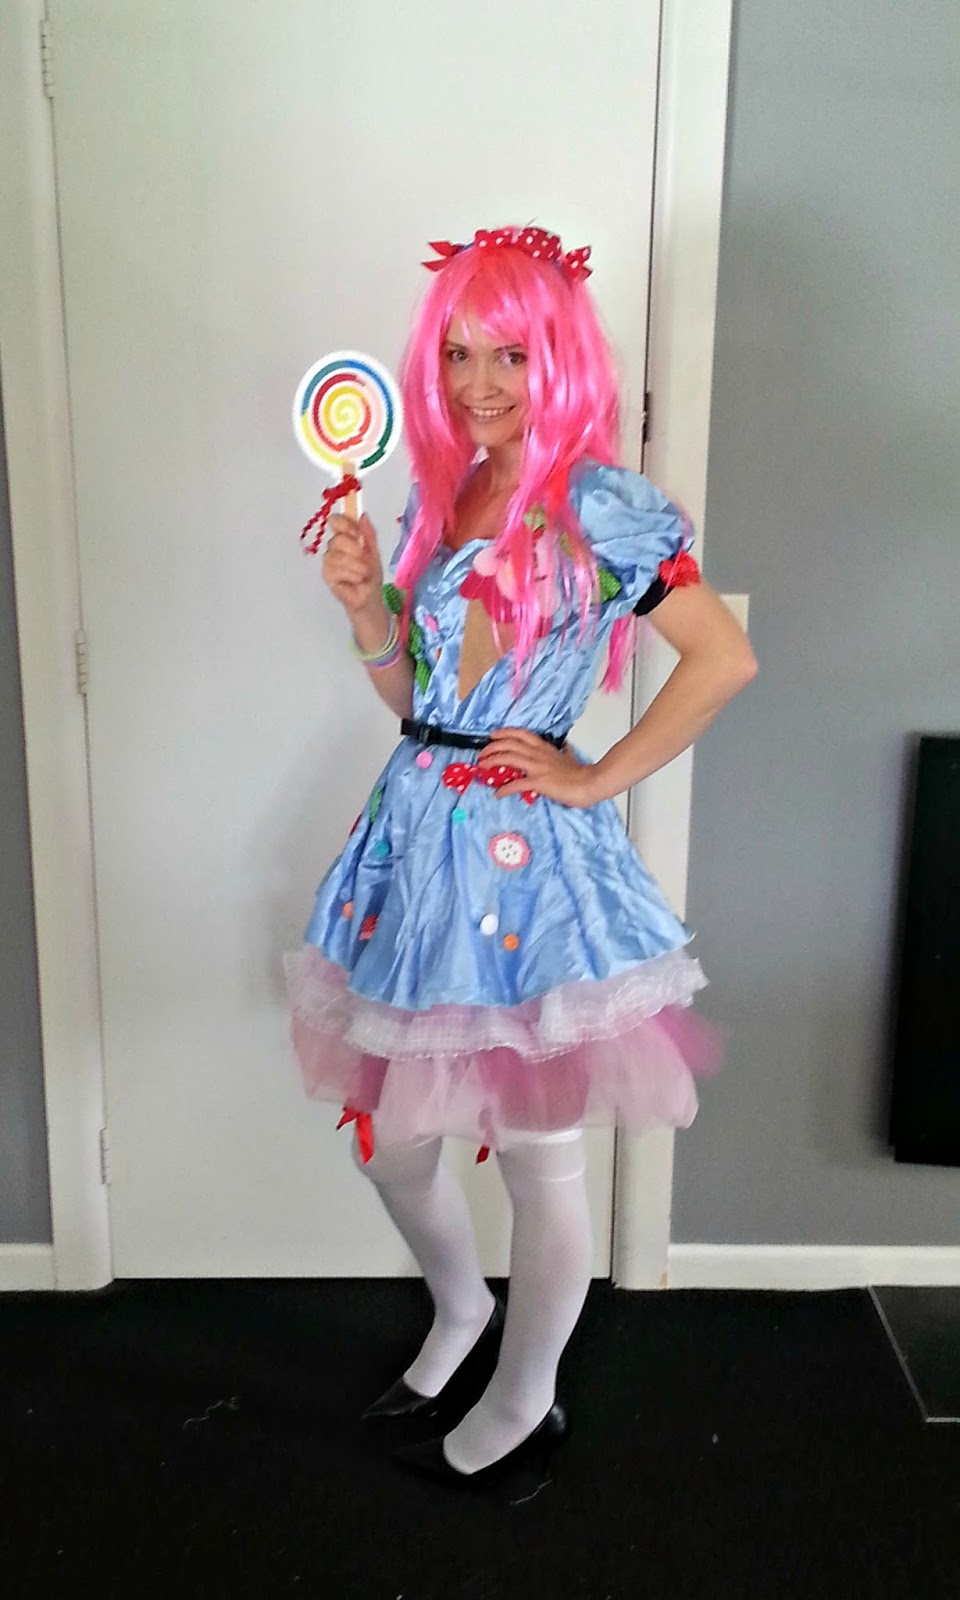
So if you follow me on facebook or instagram you have probably seen my recent Katy Perry costume. Let me remind you...
Anyway I had so much fun making my giant hama bead lollipop I thought I would share the pattern with you in case you ever need a giant lollipop accessory in your life!

You will need one large round and one large square peg board and lots of different colour hama or perler beads.

As the round and square boards can't be joined I just placed very carefully together!

Here is a close up if you want to follow the pattern exactly...


Once I had ironed my lollipop my stick wasn't quite strong enough to hold up the lollipop head so I had to get my thinking cap on...

So I made two extra sticks and stuck one on the front and one on the back using a super glue...

....and lots of pegs to hold it while it dried.

Add a bow and you are set.

I waved my lollipop around all night at my costume party and it is still all in one piece even after letting the kids loose on it over the past few days.

The accessory you didn't know you needed!

Have fun!

Kim
xxx


21 May 2012

Free Pattern: Felt cube toy for baby

I made this cube for my son more than a year ago and now that I have whipped it out of storage for my daughter I thought I would share the pattern with you.


You will need:

Assorted pieces of felt:
Larger pieces for the sides
Scraps for the pictures
Scissors
Pinking Shears (if you have them)
Embroidery floss (stranded cotton) in various colours
Polyfill

You can download the pattern HERE

Cut six of the side pieces in different colours of felt.
Cut out 1 of each pattern piece for all the pictures in appropriate felt colours.

Before you start sewing I would recommend laying out all the pieces and deciding which background colours the pictures look best on and the order they will be on the cube.

Sorry I haven't got a step-by-step photo tutorial for this one but I will talk you through each side....
NB: I have used 2 strands of cotton and whip stitch to attach all the pattern pieces.

Mushroom:
Cut some freehand  white circles for the mushroom spots and stitch onto the mushroom head.
Stitch the stem to the background.
Stitch the head on.
Stitch the grass on.

Duck:
Stitch the wing to the body.
Stitch the body to the background.
Stitch the beak on.
Add a French knot for the eye or just a cross stitch if knots aren't your thing!

Cupcake:
Stitch the base to the background.
Stitch the top on (I have actually used running stitch here).
Stitch the heart on.

Ladybird:
Stitch the body to the background.
Stitch the head on.
Cut some small black circles and stitch to body (I have used a cross stitch).
Add black backstitch for line on the body and antenae (plus 2 French knots on the ends).


Apple:
Stitch apple to background.
Stitch stalk on.

Hedgehog:
Cut the body out using pinking shears (if you have them).
Stitch grass onto background.
Attach body to background using running stitch (slightly overlap the grass).
Attach face on.
Add nose and eye details in any stitch you fancy.


FORMING THE CUBE.

I have used blanket stitch to sew the sides together but whip stitch will work fine too.
Join 2 sides together by putting wrong sides together and stitching.
Add another side to the 2 by the same method.
Add another so you have 4 sides forming a square but don't join the final seam yet.

Now start sewing the top one side at a time.
Then sew on the bottom one side at a time.

Now you can stuff with polyfill through the side seam.
Then sew closed.

DONE!

P.S Hope this makes sense (feel free to ask questions!)

27 April 2012

Free pattern/tutorial: Felt Russian Doll softie

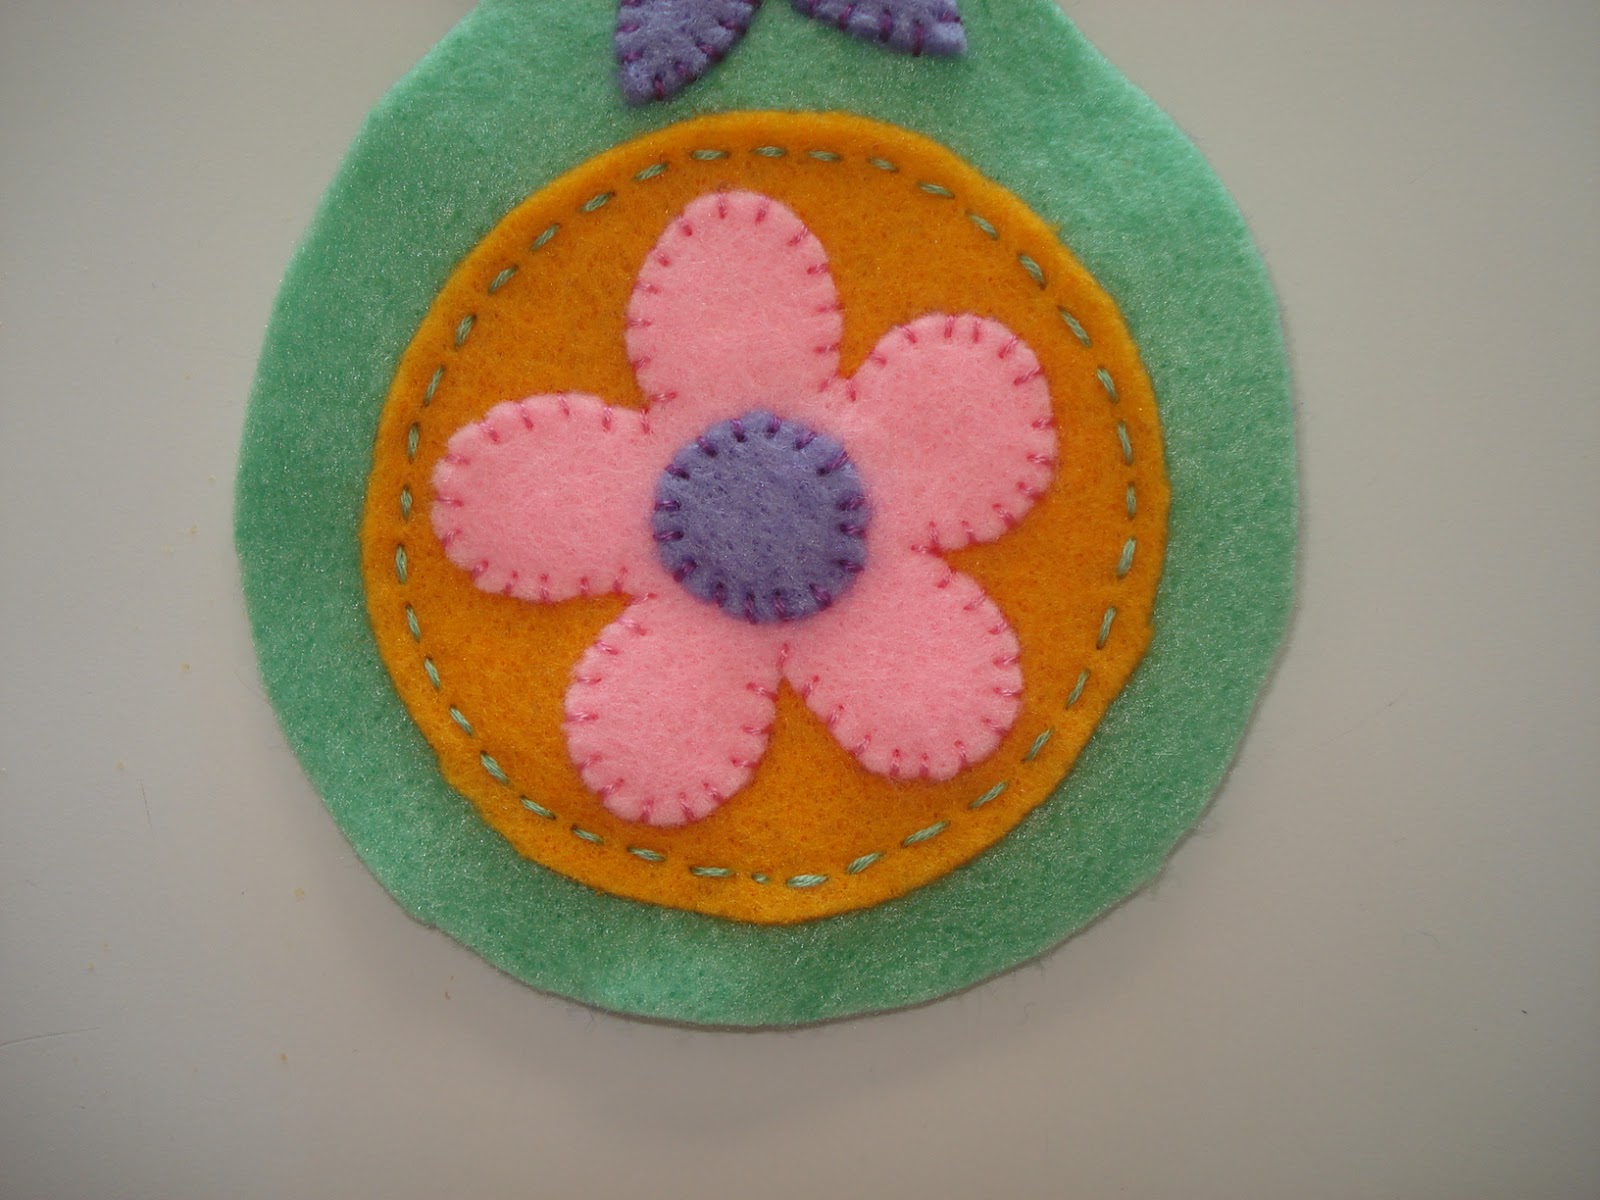
Sew your own Mini Russian Doll....


This is a great quick project that can make use of all your felt scraps and left over embroidery floss.

I usually make about 3 dolls at a time using similar colours that way I don't have to keep rethreading the needles all the time.

If you think you will use the pattern more than once I would recommend cutting the pattern pieces out in cardboard to make for easy tracing again and again.

You will need:

The pattern which you can download HERE
Scraps of felt
Embroidery floss - assorted colours
Needle
Sharp scissors
Fading fabric marker

Lets get started.....


Here I have chosen 4 colours of felt and cut out 3 dolls alternating colours for the various pieces. Then I have mixed and matched bodies and flowers etc until I am happy with the combinations - I am quite a fan of random.

For most stitching I have used 2 strands of thread.

Start by whip stitching the centre of the flower to the flower - use either the same colour of contrasting thread.


Next whip stitch the flower to the tummy circle...


Then stitch hair to the face...


Draw on a face with fading fabric marker...

Stitch face details using back stitch...

Next position and pin the face onto the head scarf and stitch the top of the hair on. Then stitch the bottom of tha face on...

 Then pin the scarf/face to the body and stitch the bottom of the scarf on...

Position the tummy flower into the middle of the body and use a running stitch around the edge...


Pin front of body to back of body and using 3 strands of contrasting floss blanket stitch around the edge (if blanket stitch is a bit tricky try using a whip stitch). Remember to leave about a 1" stuffing gap at the side.


Fill with stuffing of your choice like polyfill or cotton balls. Don't stuff too tightly...


Then continue sewing up with blanket stitch and she is done!


Here is my daughter when I gave her a doll....she doesn't look so impressed!


If you don't fancy making your own doll I have listed the three dolls shown in my Etsy store here

19 February 2012

Mushroom Felt Needlebook: free pattern + tutorial

Hand stitch your own mushroom needlebook!

I thought it was time for another tutorial so here goes...

Click here to find the pattern. Print it on an A4 sheet of paper, cut out pieces and trace onto card to make the pieces easier to use.

You will need:
Green, pink, red & white felt.
Green, pink, red & white embroidery floss.
Sharp scissors
Pinking shears
Pins
Embroidery needle
Fading fabric marker

Step 1

Step 1:

Cut 2 x outside in green felt with scissors.
Cut 1 x inside in pink felt with pinking shears.
Cut 1 x outside square in pink felt with pinking shears.
Cut 1 x mushroom top in red felt.
Cut 1 x mushroom stem in white felt.
Cut 1 x grass in green felt.
Cut 4 x circles in white felt - random sizes!
Step 2

Step 2:
Lay the pink inside piece on top of one of the green outside pieces and using your fading fabric pen mark the middle then pin either side of the centre.
Step 3

Step 3:
Using 3 strands of embroidery floss use a running stitch to attach the two together
Step 4
Step 4:
Using 2 strands of white floss whip stitch the dots onto the mushroom top ina random fashion!
Step 5:
Step 5:
Lay out the mushroom pieces onto the front square and pin down the white stem only.


Step 6:

Step 6:
Using 2 strands of white floss whip stitch the stem in place.
Step 7

Step 7:
Using 2 strands of respective matching floss whip stitch the remaining elements into place.
Step 8
Step 8:
Take the other outside green piece and fold in half. Position the pink front piece int the centre and pin into place.
Step 9
Step 9:
Using 3 strands of green floss use a running stitch to attach the pink felt to the green felt.

Step 10
Step 10:
Take the two completed green outside pieces and place them wrong side together.


Step 11


Step 11:
Using 3 strands of pink floss blanket stitch the back and front together.

Step 12
Step 12:
On the inside position the 2 pieces of the dome and stitch into place ensuring to only stitch through one layer of felt!


Close the dome and stick a needle in and you are done!
No more stray needles down the side of your couch anymore.

20 March 2011

Free pattern: Felt Cupcake Brooch

I have been a busy little bee making lots of crafty goodies for Craft 2.0 just take a look at the mess I have made...

Hmmmmmm
Anyway I thought I would share this pattern for a cute little cupcake brooch with you. This is a great project to use all the left over bits and pieces so gather up all your felt scraps and lets begin.....I apologise for the slightly dubious photos in advance!

It always amazes me that something can be made from nothing!
Here is the pdf pattern.
It should be to scale. The finished brooch size is 4.5cm square.

I like to trace the pattern onto card and then trace around the card cut outs onto the felt using a fading facric marker. I usually make 2 or 3 at once this way you don't have to keep re-threading your needle with different colours all the time.

2 brooches in the making.
I have cut out pieces to make 2 brooches, using pinking shears for one and straight edge for the other.
You can use any kind of colour combination - just make use of whatever bits and pieces you have.

Dubious photo #1!!
Using 2 strands of white embroidery floss use whip stitch to sew the bottom of the icing onto the cupcake.


Next just lay all the pieces onto the background to see where they fit.


And while you still have white floss threaded whip stitch the top of the icing onto the top layer of the background.
Then using 2 strands of brown floss whip stitch the cupcake to the background (I did have a photo of this but accidently deleted it!)


Next using 2 strands of blue floss (or whatever colour you have chosen) whip stitch the wrapper to the background around the outside of it.


Next using a fading fabric marker draw lines to make the details of the wrapper. If you don't have a marker just freehand it - I do a lot of the time especially when my marker has run away somewhere.


Use a darker blue thread to stitch the detail just using a random running stitch.


Next add the cherry with red thread - I have attached it using a cross stitch in the middle.


Now it is time to sew the front to the back.

Using 3 strands of a contrasting thread (I am a big fan of brown!) come up through the front of the brooch only (so you can hide the ugly knot).


Then lay the bottom piece underneath the top one and using a running stitch sew the whole way around the brooch. Don't worry about all the stitches being evenly spaced or the same size - random is just fabulous!


Once you reach the end don't stitch through to the back but knot it off on the inside.
Not the greatest photo but hope it makes sense.


Then just add a brooch back - I like to use a contrasting thread (brown again).
If you don't have a brooch back a safety pin will work just nicely.


And there you have it a cute wee brooch!
Try making a bird or a mushroom or a hedgehog brooch too.

I would love to see what fabulous creations you come up with using this pattern.
Send me a photo and I will add it to my photo gallery - leave me a comment and I will contact you with the details.

Happy stitching!