Showing posts with label russian doll. Show all posts

27 April 2012

Free pattern/tutorial: Felt Russian Doll softie

Sew your own Mini Russian Doll....


This is a great quick project that can make use of all your felt scraps and left over embroidery floss.

I usually make about 3 dolls at a time using similar colours that way I don't have to keep rethreading the needles all the time.

If you think you will use the pattern more than once I would recommend cutting the pattern pieces out in cardboard to make for easy tracing again and again.

You will need:

The pattern which you can download HERE
Scraps of felt
Embroidery floss - assorted colours
Needle
Sharp scissors
Fading fabric marker

Lets get started.....


Here I have chosen 4 colours of felt and cut out 3 dolls alternating colours for the various pieces. Then I have mixed and matched bodies and flowers etc until I am happy with the combinations - I am quite a fan of random.

For most stitching I have used 2 strands of thread.

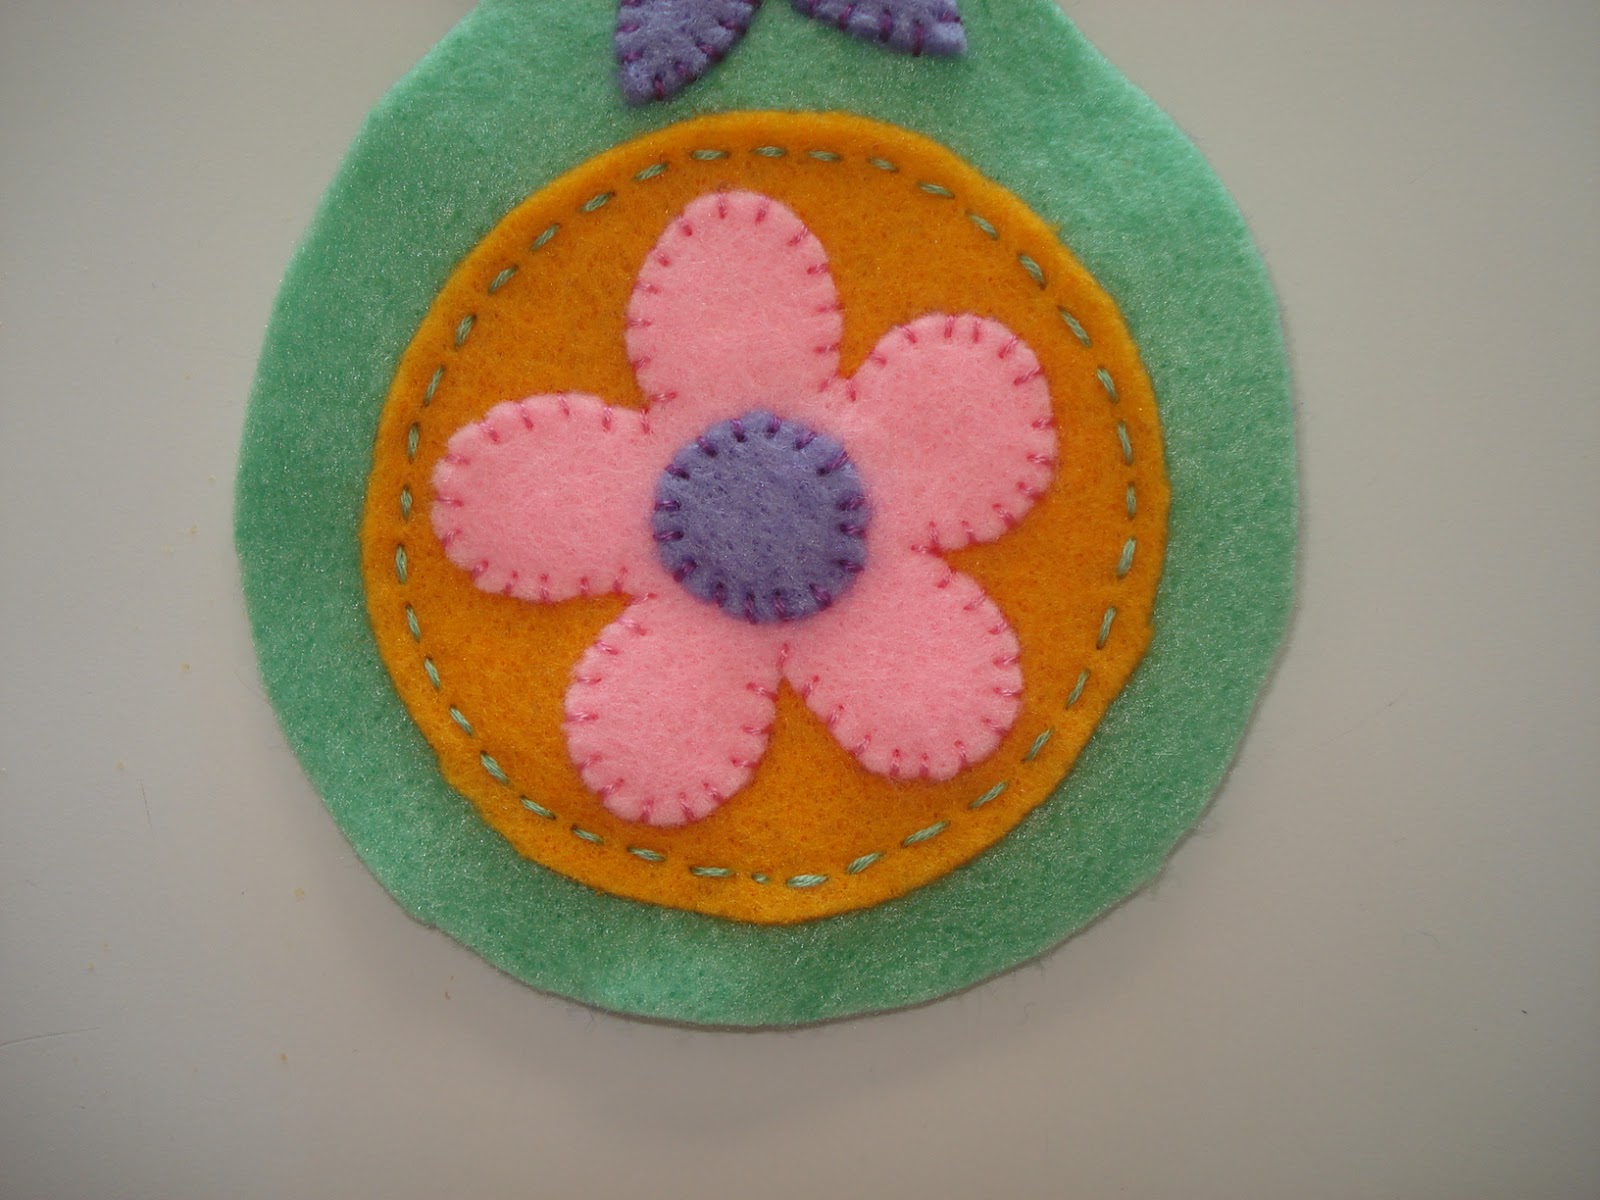
Start by whip stitching the centre of the flower to the flower - use either the same colour of contrasting thread.


Next whip stitch the flower to the tummy circle...


Then stitch hair to the face...


Draw on a face with fading fabric marker...

Stitch face details using back stitch...

Next position and pin the face onto the head scarf and stitch the top of the hair on. Then stitch the bottom of tha face on...

 Then pin the scarf/face to the body and stitch the bottom of the scarf on...

Position the tummy flower into the middle of the body and use a running stitch around the edge...


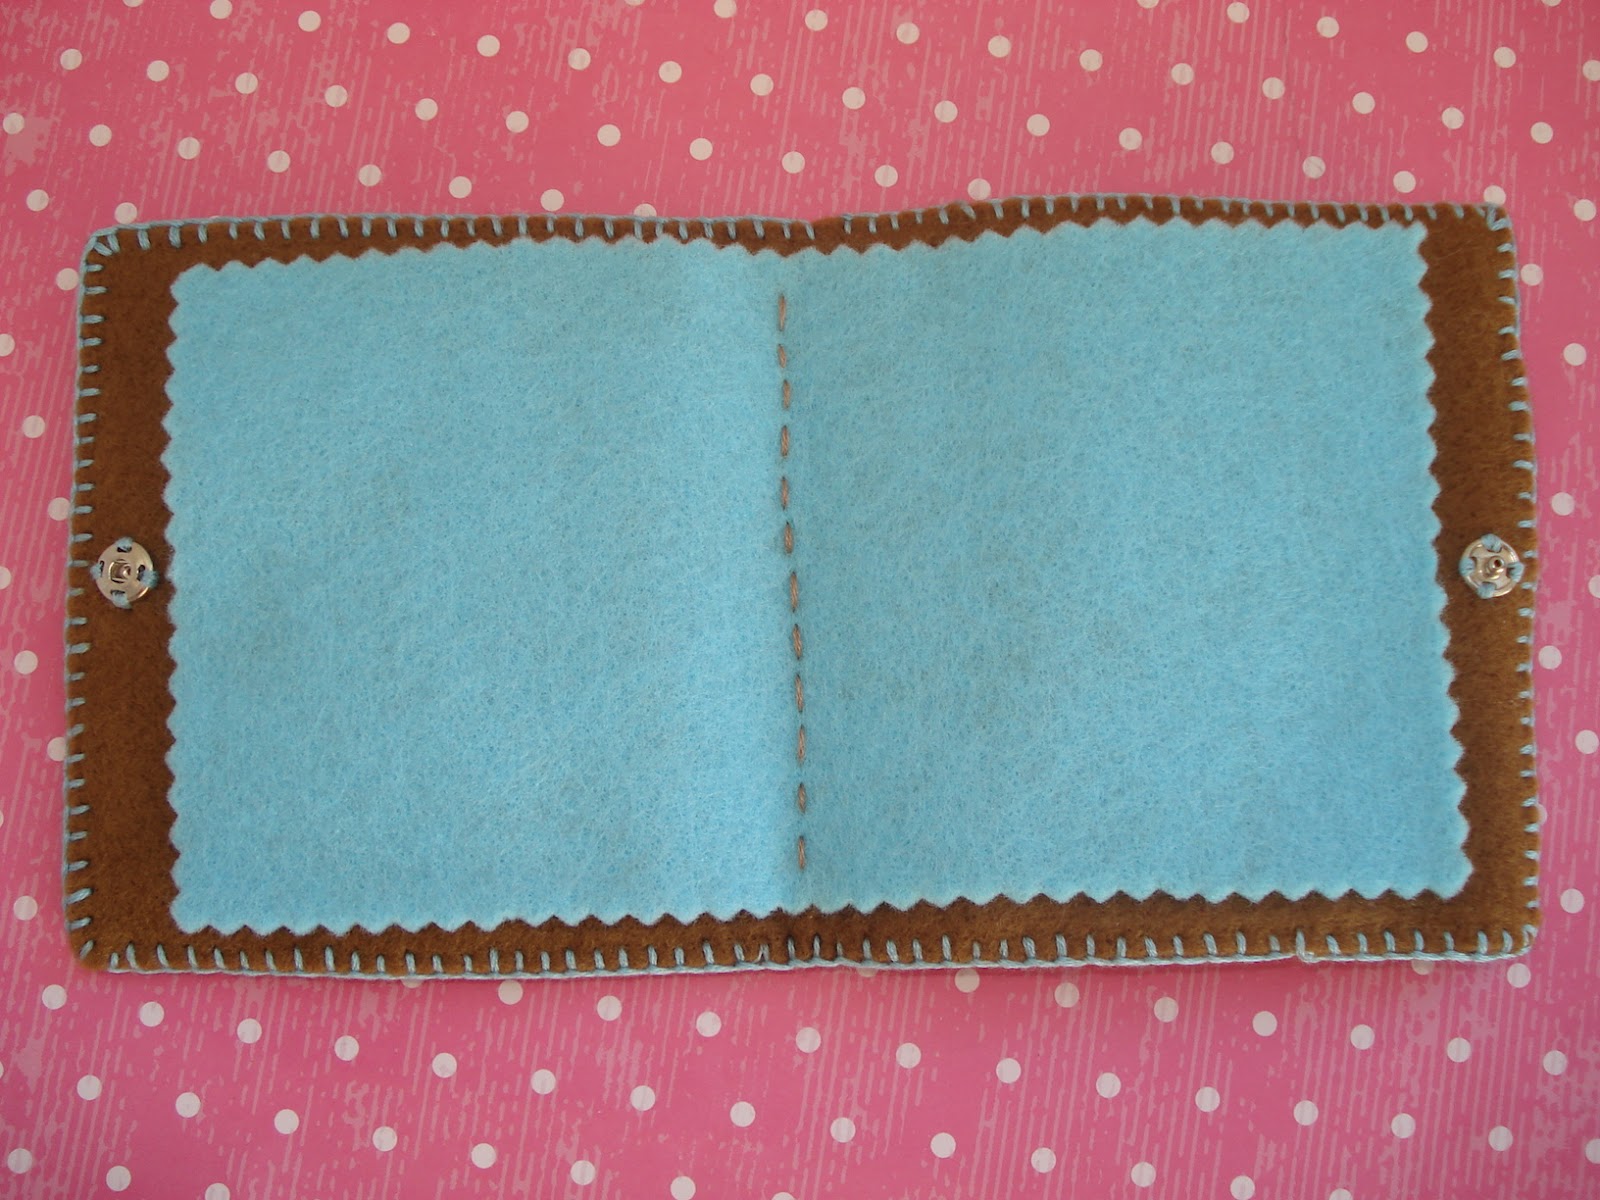
Pin front of body to back of body and using 3 strands of contrasting floss blanket stitch around the edge (if blanket stitch is a bit tricky try using a whip stitch). Remember to leave about a 1" stuffing gap at the side.


Fill with stuffing of your choice like polyfill or cotton balls. Don't stuff too tightly...


Then continue sewing up with blanket stitch and she is done!


Here is my daughter when I gave her a doll....she doesn't look so impressed!


If you don't fancy making your own doll I have listed the three dolls shown in my Etsy store here

25 April 2012

Another needlebook...

added to my store...


I totally forgot I ever made this one. I need to have a clearout more often!
You can find it listed here.

12 March 2012

Project Update: New Babushka cross stitch pattern

Yes I am still stitching my new Babushka cross stitch pattern - it seems to have been going on forever. But of course I have abandoned it many times to do other crafty projects which I promised myself I wouldn't. Lets face it I can't just do one project at a time - the more the merrier.

Anyway here it is (I am stitching on waste canvas onto a teatowel).....

Just have to add the final doll and finish the two dolls at the bottom. Had a nightmare with the one on the bottom right - not a good idea to stitch at night when sleep deprived. Had to unpick heaps and of course it has left nasty little holes in my fine fabric...oh well hopefully it will look OK.

So I am hoping to have it finished and listed in my Etsy & Felt stores sometime soon.

29 January 2012

Free Babushka cross stitch pattern

As I am busy stitching away on my new Babushka sampler pattern (full update tomorrow)....
I thought it was time for a bit of a freebie.....

So I have chosen one of the 'girls' for you to stitch....


Excuse the bad photo - I am stitching on waste canvas hence the blue lines and have just taken it out of the hoop!
Click here to get the free pdf pattern. It outlines all you need to get started - fabric, threads and cross stitch instructions for 14 count aida. Perfect for beginners.

This pattern is free for you to use on your own projects and you can even sell the stitched design if you fancy - but it would be great if you could include a link to my blog!

I know you wouldn't but I have to say it...please don't on sell the pattern. Freebies are so nice it would be a shame to abuse the privilege. Thank you!

Happy stitching!

23 February 2011

Babushka Softie Doll Tutorial

I thought I would put together a little photo tutorial to go with my Babushka Softie Doll pattern . Sometimes it is easier to explain things visually. Here goes....
Cut out all the pieces remembering to include the notches. You of course will have ironed all your fabric first because you do things properly, as you can see I am a little slap dash (I am time poor due to a certain 10 month old!).

Machine stitch the hair onto the face following the hairline with a 3mm seam. As you can see here I have broken the rules and have actually hand stitched instead because  a) I like the to be difficult and b) I like chunky stitches!


Next add some personality with a face. I have used a fading fabric marker to draw on the details. Use 3 strands of brown embroidery floss and either back stitch or split stitch to outline the face.


Now I have the iron out (better late than never!). Give everything another little press and taking your dress piece flip it face down and iron up about 5mm of the hemline - hope you can see this clearly.
You could also zig zag or overlock before this step if you like.
Flip your dress right side up again and pin the lace or ribbon just above the fold of the hemline - making sure the piece you have just ironed is still tucked under and captured by the pins.

Stitch the lace/ribbon on.


With right sides facing up take the front piece of the body and lay the dress on top of it - aligning the notches.
Place the face on top, centred in the head and pin through the 3 layers.


Stitch around the face with a 3mm seam.

With right sides together pin the front and back of the body together.

Sew around the body with a 10mm seam leaving a 4cm gap at the side for stuffing.
I usually sew around again very close to the first seam just to give it a bit of extra strength.

Trim off excess fabric with pinking shears or cut little 'v's or slits to help create the rounded shape.

Turn your doll inside out and see how she looks!

I use a knitting needle and run it round the inside along the seam just to push all the edges out.

Stuff, stuff, stuff!! Be generous with the stuffing to help create shape but don't overstuff the head as it can start looking a little pointy!!


Sew up the gap with invisible thread or just the cotton used to sew with. I used a ladder stitch to close the gap.

Choose a piece of ribbon from your stash and tie a nice bow or knot around your dolls neck. You can leave it like this or tack it down if you prefer. I have tacked this bow down under the ribbons at the side seams and under the middle of the bow. I find spotted ribbon great as you can hide the stitches within the dots.

Now she is complete and all she needs is a name!!!

I am sure you will want to get started on another one straight away - they become addictive!!!

I would love to see your creations and  I have started a Photo Gallery page to showcase all the 'girls'.
If you would like to include a photo of your doll that would be fabulous - you can tell me her name and I am happy to include a link to your own website/blog. Email me if you are interested.

20 February 2011

Babushka Softie Doll Sewing Pattern....

is finally complete!!!!

You can sew your own cute Babushka Doll like these ones...


Once you have made one you won't be able to stop!
You can get your PDF pattern in NZ dollars here or US dollars here

I have just created the Babushka Softie Doll photo gallery page and I can't wait to add photos of your dolls.


16 February 2011

P.S Babushka Softie Doll Pattern

As promised about a year ago.....

Make your own Babushka Softie Doll Pattern

I am finally putting the finishing touches onto the pattern and it will be available very soon.

Big thanks to Anne my pattern guinea pig who tried it out over the weekend and gave fabulous suggestions on what needed tweaking! 

I will have a free photo tutorial available on my blog to use alongside the pattern.

I will also have a Babushka Softie Gallery so you can send photos of your dolls...
I can't wait to see the different designs you come up with! 

Babushka Softie Dolls

I dusted off the sewing machine this past weekend and whipped up a few more Babushka Softie dolls......

Lots of new and interesting (!) colour combinations.

You can get yours here


21 January 2011

Fabulous felt brooches

I am still obsessed with babushka dolls, toadstools and hedgehogs and anything made with felt.....


Miss Babushka brooches!

Mr Hedgehog brooch
Miss Red Ridinghood brooch

Mushroom house brooch

You can find all these cuties in the Cupcake Cutie store.

09 November 2010

Babushka Christmas Angel


I am still obsessed with Russian Dolls and Christmas so have combined
my two favourite things!! Get your cute Xmas Angel here

20 September 2010

Gorgeous wee Russian Dolls

Russian dolls or Babushkas or Matryoshka dolls are my new favourite thing at the moment.
I have designed this sweet wee tapestry and completed it with teeny tiny stitches on Ecru fine weave linen - I am now thinking of investing in a magnifying glass and miners hat complete with light to aid the process!

So cute!!

You too can stitch this delightful design - check out Russian doll #1 pdf pattern (left hand doll) or Russian Doll #2 pattern (right hand doll) in my Etsy store to purchase the pdfs - no need to wait for the post to arrive I can email it to you ASAP so you can start stitching.

You don't even need to go out and buy more threads as this is a great little project to use up all your left over threads (although I do provide a chart if you prefer).


Teeny tiny stitches!

Ideal as a cross stitch or tapestry using any size of canvas of aida. The pattern is easy to use as one square represents one stitch. Choose 14 count aida and you will get a larger doll!

Easier still buy the completed tapestry here and use your creative sewing skill to incorporate the design into a cushion, purse, ipod cover or anything that takes your fancy.

Also coming soon (between renovating a house and looking after a fiesty 6 month old boy!) will be an already framed version + another delightful Russian doll pattern who will be joining her sisters + a gorgeous wee toy soldier design.

Stay tuned!!