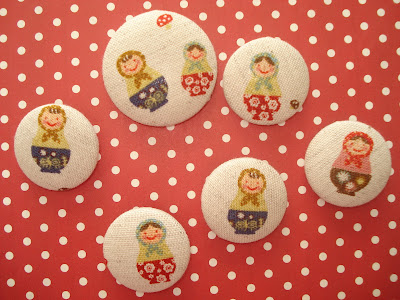
This is a great quick project that can make use of all your felt scraps and left over embroidery floss.
I usually make about 3 dolls at a time using similar colours that way I don't have to keep rethreading the needles all the time.
If you think you will use the pattern more than once I would recommend cutting the pattern pieces out in cardboard to make for easy tracing again and again.
You will need:
The pattern which you can download HERE
Scraps of felt
Embroidery floss - assorted colours
Needle
Sharp scissors
Fading fabric marker
Lets get started.....
Here I have chosen 4 colours of felt and cut out 3 dolls alternating colours for the various pieces. Then I have mixed and matched bodies and flowers etc until I am happy with the combinations - I am quite a fan of random.
For most stitching I have used 2 strands of thread.
Start by whip stitching the centre of the flower to the flower - use either the same colour of contrasting thread.
Next whip stitch the flower to the tummy circle...
Then stitch hair to the face...
Draw on a face with fading fabric marker...
Stitch face details using back stitch...
Next position and pin the face onto the head scarf and stitch the top of the hair on. Then stitch the bottom of tha face on...
Position the tummy flower into the middle of the body and use a running stitch around the edge...
Pin front of body to back of body and using 3 strands of contrasting floss blanket stitch around the edge (if blanket stitch is a bit tricky try using a whip stitch). Remember to leave about a 1" stuffing gap at the side.
Fill with stuffing of your choice like polyfill or cotton balls. Don't stuff too tightly...
Then continue sewing up with blanket stitch and she is done!
Here is my daughter when I gave her a doll....she doesn't look so impressed!
If you don't fancy making your own doll I have listed the three dolls shown in my Etsy store here


